How to Make Oven-Dried Tomatoes from Your Home Garden
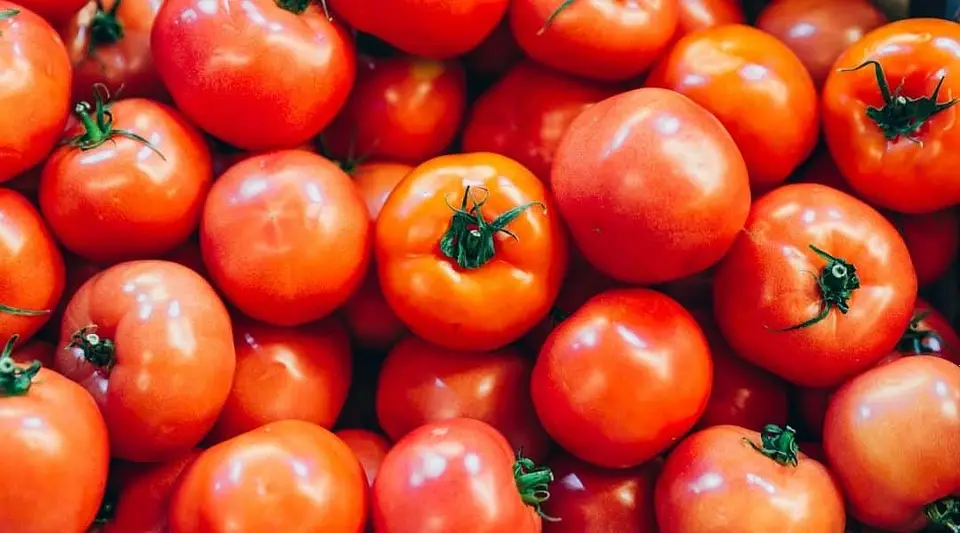
Growing tomatoes in Malaysia’s tropical climate often means dealing with an abundant harvest—especially when all your plants fruit simultaneously! If you’ve been following our Growing Tomatoes With Kids series, you know the joy of watching your balcony garden flourish. But what happens when you have more tomatoes than your family can consume fresh?
The solution is simple: preserve them as oven-dried tomatoes! While sun-dried tomatoes are delicious on pizzas and in salads, they can be expensive to buy. Making your own oven-dried version is economical, easy, and perfectly suited to our humid Malaysian climate where traditional sun-drying can be unreliable due to afternoon thunderstorms.
This guide will show you how to transform your homegrown tomatoes into delicious preserved treats that your family and friends can enjoy for weeks to come. We’ll preserve them in extra virgin olive oil for maximum flavor and shelf life.


Preparation Steps
1. Clean Your Tomatoes Properly
Start by soaking your tomatoes in water for 10-15 minutes. For homegrown tomatoes, this removes any dust or garden debris. If you’re using store-bought produce, add a tablespoon of salt to the water—this helps clean the surface more effectively and eliminates possible pests that might be hiding in the stem area.
2. Preheat Your Oven
Set your oven to 110°C with the fan setting on. The low temperature and air circulation are crucial for slowly dehydrating the tomatoes without cooking them too quickly. This preserves their flavor and prevents burning.
3. Remove the Stems
Halve each tomato and carefully cut out the green stem portion. Yes, this step is time-consuming, especially with a large batch! However, leaving the stems in will create tough, bitter bits in your final product that detract from the eating experience. Take your time—put on some music or a podcast to make it more enjoyable.
4. Size Your Pieces Appropriately
Cut your tomatoes based on their size, keeping in mind they’ll shrink significantly during drying:
- Cherry tomatoes: Simply halve them
- Medium tomatoes: Cut into quarters
- Large beefsteak varieties: Cut into 6-8 pieces
The goal is to have pieces of similar thickness so they dry evenly.
5. Arrange on Baking Sheet
Line your baking sheet with a silicone baking mat or parchment paper. Spread the tomato pieces out in a single layer with the cut sides facing up. Don’t overcrowd them—air needs to circulate around each piece for even drying.
6. Season Lightly
Sprinkle the tomatoes with a light coating of salt. Use restraint at this stage! The drying process concentrates flavors, so what seems like a small amount of salt now will become more pronounced. You can always add more seasoning later when using the dried tomatoes.
The Oven-Drying Process
1. Initial Roasting (2 Hours)
Place the baking sheet in your preheated oven and let the tomatoes roast slowly for 2 hours. During this time, much of the moisture will evaporate. You’ll notice the tomatoes starting to shrivel and concentrate in color.
2. Press and Release Moisture
After 2 hours, remove the tray from the oven (use oven mitts—it’s hot!). Using a spatula, gently press down on each tomato piece. This helps release any remaining liquid trapped inside. You’ll see moisture beading on the surface—this is exactly what you want.
3. Add Herbs and Seasonings (Optional)
This is the perfect time to add extra flavor! We love using a Mediterranean herb mix, but you can experiment with:
- Dried basil or oregano
- Garlic powder or minced fresh garlic
- Cracked black pepper
- Red chili flakes for heat
- Italian seasoning blend
4. Second Roasting (40 Minutes)
Return the tray to the oven for another 40 minutes. Keep a closer eye on them now—different tomato varieties and piece sizes will finish at different times. Check every 10-15 minutes to prevent over-drying or burning.
5. Final Drying (If Needed)
If your tomatoes still look too moist at the end of the 40 minutes, turn off the oven but leave the tray inside. Prop the oven door open slightly with a wooden spoon handle. This allows moisture to escape while maintaining gentle heat. Check every 10 minutes until you achieve the desired consistency—they should be leathery and pliable, not crispy.
6. Cool Completely
This step is crucial! Remove the tray from the oven and let the dried tomatoes cool to room temperature. This can take 30-60 minutes. Storing warm tomatoes can create condensation, leading to mold growth.
Preserving in Olive Oil (Refrigerator Method)
1. Prepare Your Storage Jar
Use a clean, dry glass jar with a tight-fitting lid. Mason jars work perfectly. Make sure there’s no moisture inside—any water will cause spoilage.
2. Layer the Tomatoes
Place your cooled dried tomatoes into the jar, packing them in loosely. Don’t compress them too tightly—you want the oil to flow around each piece.
3. Cover with Olive Oil
Pour extra virgin olive oil over the tomatoes until they’re completely submerged. Use a clean spoon or chopstick to release any air bubbles trapped between the pieces. Add more oil if needed—every piece must be covered to prevent spoilage.
4. Add Flavor Enhancers (Optional)
For extra flavor, add to the jar:
- 2-3 whole garlic cloves, peeled
- Fresh basil or rosemary sprigs
- A few black peppercorns
- A small dried chili
5. Storage Guidelines
Seal the jar tightly and store in the refrigerator. The tomatoes will keep for up to one month. Always use a clean, dry utensil when removing tomatoes to prevent contamination. If you notice any off-smell, mold, or cloudiness in the oil, discard the entire jar.
Preserving in the Freezer (Long-Term Storage)
1. Flash Freeze on the Tray
For longer storage, place your baking sheet with the cooled dried tomatoes directly into the freezer. Leave them for 2-3 hours until each piece is completely frozen solid. This prevents them from sticking together.
2. Transfer to Freezer Containers
Once frozen, quickly transfer the tomato pieces into freezer-safe bags or plastic containers. Remove as much air as possible from bags before sealing. Label with the date—they’ll keep for up to 6 months.
3. Thawing and Using
When you’re ready to use frozen dried tomatoes, remove the amount you need and place in a bowl. Add enough olive oil to cover and let them thaw at room temperature for 30-60 minutes. They’ll rehydrate slightly and be ready to use in your recipes.
Growing Better Tomatoes for Next Season
Want an even bigger harvest next season? The key to abundant tomato production in Malaysia’s tropical climate (24-32°C with high humidity) is consistent feeding with the right nutrients. We recommend Serbajadi Organic Vegetable Fertiliser, specially formulated for edible crops in our climate.
Important Safety Note: When using any fertilizer on edible plants, always observe a strict 7-day withholding period between the last application and harvest. This applies to both organic and inorganic fertilizers. Always wash all harvested produce thoroughly before consumption.
For tomato plants that need a boost during fruiting season, consider Fruiting Inducer 43, which provides the potassium needed for healthy fruit development.
Frequently Asked Questions
How long do oven-dried tomatoes last?
When stored in olive oil in the refrigerator, oven-dried tomatoes last up to one month. For longer storage, freeze them for up to 6 months. Always ensure tomatoes are completely cooled before storage and that oil-preserved tomatoes are fully submerged.
What’s the difference between oven-dried and sun-dried tomatoes?
Oven-dried tomatoes are made using controlled heat in an oven (110°C), taking 2-3 hours. Sun-dried tomatoes traditionally dry outdoors in direct sunlight for several days. In Malaysia’s humid tropical climate, oven-drying is more reliable and hygienic than sun-drying, which can be affected by afternoon rain and high humidity.
Can I use any type of tomato for oven-drying?
Yes, but results vary by variety. Cherry tomatoes work excellently when halved. Larger varieties like beefsteak tomatoes should be cut into quarters or smaller pieces. Roma or plum tomatoes are ideal due to their lower moisture content. The key is cutting pieces to similar sizes so they dry evenly.
How do I know when the tomatoes are properly dried?
Properly dried tomatoes should be leathery and pliable, not crispy or brittle. They should have no visible moisture when pressed but shouldn’t crumble. The edges may curl slightly. If storing in oil, they should be slightly chewy; if freezing, you can dry them a bit more for a firmer texture.
What can I do with oven-dried tomatoes?
Oven-dried tomatoes are incredibly versatile. Add them to pizzas, pasta dishes, salads, sandwiches, or antipasto platters. Blend them into pesto or dips. Chop and mix into bread dough or focaccia. The oil they’re preserved in also becomes infused with tomato flavor, perfect for cooking or salad dressings.
Start Your Kitchen Garden Journey
If you’re inspired to grow your own tomatoes and other vegetables, visit Serbajadi Grow Joy Shop for everything you need to start your urban farming journey. From quality seeds to specialized fertilizers optimized for Malaysia’s tropical climate, we’ve been supporting home gardeners since 1988.
Don’t forget to check out our complete guide on Growing Tomatoes With Kids to learn how to cultivate healthy, productive tomato plants on your balcony or in your backyard!
Happy gardening and preserving! There’s nothing quite like the satisfaction of enjoying the fruits of your labor months after harvest, knowing exactly where your food came from and how it was grown.