Paper Towel Seed Germination: 8 Steps for Malaysian Gardens
Successful gardening doesn’t require a “green thumb”—it requires the right technique. While many beginner gardeners scatter seeds on soil and hope for the best, the paper towel germination method offers a controlled, reliable alternative with germination rates often exceeding 90%. This indoor seed-starting technique is particularly effective in Malaysia’s tropical climate (24-32°C with high humidity), where it protects vulnerable seeds from heavy monsoon rains, soil-borne diseases, and garden pests.
The paper towel method—also called the tissue paper germination technique—allows you to monitor seed progress daily, saves space, and costs less than traditional seed trays. Whether you’re starting vegetables for your kitchen garden, herbs for cooking, or flowers for your balcony, this step-by-step guide will help you achieve consistent germination success.
What You’ll Need for Seed Germination
Before starting, gather these simple household items:
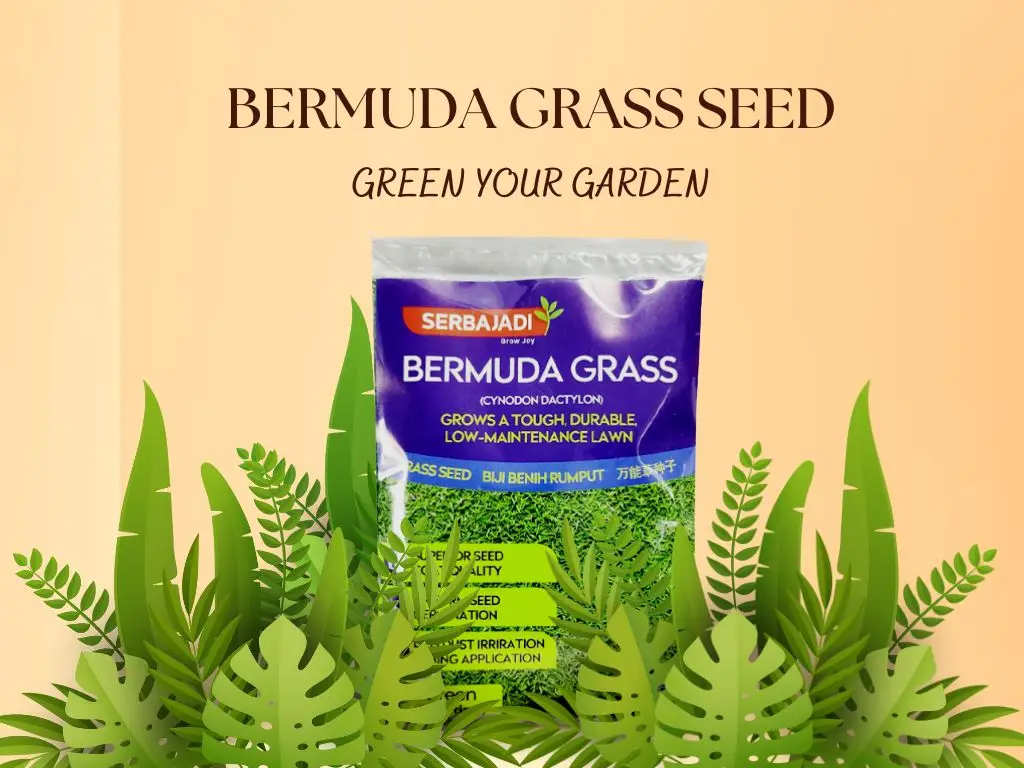
- Seeds – Choose fresh, quality seeds suited to tropical climates. Browse Serbajadi’s vegetable seeds for varieties tested in Malaysian conditions.
- Airtight plastic container – Clear containers work best so you can observe germination without opening the lid.
- Tissue paper or paper towels – Unscented, plain white tissue works best.
- Spray bottle – For controlled watering without oversaturation.
- Labels (optional) – Helpful when germinating multiple seed varieties simultaneously.
Pro Tip: For even better germination rates, consider using Serbajadi Organic Seed Booster to enhance sprouting vigor and seedling strength.
Step-by-Step: The Paper Towel Germination Method
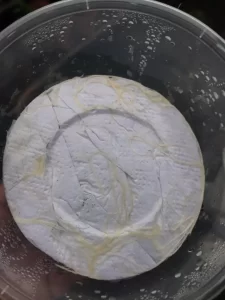
Step 1: Prepare Your Growing Medium
Place 2-3 layers of tissue paper inside your airtight container. Using your spray bottle, dampen the tissue evenly—it should be moist to the touch but not dripping wet. Excess water can cause seeds to rot or develop mold, especially in Malaysia’s humid environment where fungal growth is common.
The goal is to create consistent moisture that mimics the natural soil environment without waterlogging. Think “damp sponge” rather than “soaking wet.”
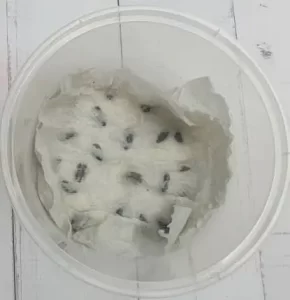
Step 2: Arrange Your Seeds
Scatter your seeds on top of the dampened tissue paper. Spacing depends on seed size:
- Small seeds (vegetables like tomatoes, chilies, leafy greens, and herbs): 5-10 seeds per container
- Large seeds (larger vegetables like cucumbers, melons, and fruit seeds): 3-4 seeds per container
Arrange seeds with adequate spacing between them—avoid overlapping. This prevents root tangling and makes transplanting much easier later. You can arrange them randomly or in neat rows, whichever you prefer for organization.
Step 3: Cover Seeds Overnight (Optional but Recommended)
For the first night, place an additional layer of damp tissue paper over the seeds. This technique softens hard seed coats and can accelerate germination by 1-2 days. After 24 hours, you can remove this top layer or leave it in place—both approaches work well.
Step 4: Create a Greenhouse Environment
Close the container with its lid to create a humid, greenhouse-like microclimate. This enclosed environment offers several benefits:
- Maintains consistent moisture levels
- Protects seeds from pests and environmental disturbances
- Regulates temperature fluctuations
- Prevents contamination from soil-borne diseases
Don’t worry about the closed lid—germinating seeds don’t require as much oxygen as growing plants. They rely on stored energy (cotyledons) during the initial sprouting phase.
Step 5: Position for Optimal Germination
Place your container in a location with indirect sunlight and warm temperatures. In Malaysia, most indoor locations naturally provide the ideal 24-28°C range for germination. Avoid direct afternoon sun, which can overheat the container and cook your seeds.
Good locations include:
- Kitchen counters away from the stove
- Shelves near windows with filtered light
- Indoor plant stands
- Covered balcony areas
Step 6: Monitor and Maintain Moisture
Check your seeds daily. The closed container should maintain humidity, but Malaysia’s air-conditioned environments can dry tissue faster than expected. If the tissue appears dry, mist lightly with your spray bottle.
Warning signs to watch for:
- Too dry: Tissue turns crispy or light-colored; seeds may fail to sprout
- Too wet: Standing water in container; mold growth; seeds turn mushy
- Just right: Tissue remains consistently damp and dark; no standing water; seeds begin swelling

Step 7: Transplant at the Right Time
Once seedlings reach 1-2 inches (2.5-5 cm) in height with visible leaves, they’re ready for transplanting. Before removing them from the container, spray the tissue generously with water—this makes roots easier to separate and reduces transplant shock.
You have two transplanting options:
Option A: Separate Individual Seedlings
If the tissue is moist enough, carefully separate each seedling by gently teasing apart the roots. Handle seedlings by their leaves, never by the delicate stem. Plant each seedling individually in quality potting soil, spacing according to plant type (typically 15-30 cm apart for vegetables).
Option B: Transplant with Tissue Attached
If you’re concerned about damaging delicate roots, plant the entire seedling with tissue still attached. The tissue paper will decompose naturally in the soil within 1-2 weeks, and roots will grow through it without restriction. This method is gentler but requires ensuring the tissue is completely buried to prevent it from wicking moisture away from roots.
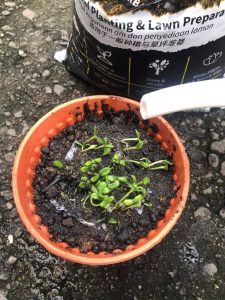
Step 8: Establish Seedlings in Pots
Plant seedlings 1-2 cm deep in your growing containers. If planting multiple seedlings per pot, space them adequately or plan to thin them later, keeping only the strongest plant. Water gently after transplanting—the soil should be moist but not waterlogged.
For the first week after transplanting, keep seedlings in partial shade to reduce transplant stress. Gradually introduce them to more sunlight over 7-10 days. This hardening-off process helps seedlings adapt to outdoor conditions without shock.
Boost early growth: Once seedlings establish (about 1 week after transplanting), begin feeding with Serbajadi Organic Vegetable Fertiliser for edible crops or Growing Inducer 45 for ornamental plants.
Advantages of the Paper Towel Method
This germination technique offers several benefits for Malaysian gardeners:
- Lower cost: No need for specialized seed-starting trays, heating mats, or soil mixes
- Higher germination rates: Controlled environment typically achieves 90%+ success compared to 60-70% for direct sowing
- Protected environment: Seeds are shielded from soil-borne diseases, fungus gnats, damping-off disease, and unpredictable weather
- Space efficiency: Containers can be stacked vertically, ideal for apartment gardeners with limited space
- Easy monitoring: Clear containers let you observe germination progress without disturbing seeds
- Faster identification: Quickly identify and discard non-viable seeds rather than waiting weeks in soil
Important Considerations
Handle seedlings gently: Young roots are extremely fragile and can tangle with each other. Always wet the tissue before attempting to separate seedlings, and handle plants by their leaves rather than stems.
Timing matters: Don’t leave seedlings in tissue too long. Once they reach 1-2 inches, transplant promptly. Delayed transplanting causes excessive root tangling and increases transplant shock.
Seed quality is crucial: This method works best with fresh, viable seeds. Old or improperly stored seeds may still fail to germinate regardless of technique.
Getting Started with Quality Seeds
Ready to try the paper towel germination method? Start with quality seeds suited to Malaysia’s tropical climate. Serbajadi offers an extensive selection of vegetable seeds, herb varieties, and flower seeds tested for local growing conditions.
For complete beginners, consider the Serbajadi Vegetable Growing Kit, which includes everything you need to start your first kitchen garden, or the Gardening Kit Set for a broader introduction to home gardening.
Frequently Asked Questions
Why use the paper towel method instead of planting seeds directly in soil?
The paper towel method offers several advantages: higher germination rates (often 90%+), controlled environment free from pests and diseases, space efficiency as containers can be stacked, lower cost without needing seed trays or specialized soil mixes, and the ability to monitor germination progress daily. It’s especially effective in Malaysia’s humid climate where soil-borne fungi can cause damping-off disease in direct-sown seeds.
How long does it take for seeds to germinate using this method?
Germination time varies by seed type. Fast-germinating seeds like mustard greens, kangkung, and radishes sprout in 2-4 days. Most vegetables and herbs including tomatoes, chilies, and basil germinate in 5-10 days. Slower seeds like peppers and some flowers may take 10-14 days. Malaysia’s warm temperatures (24-32°C) generally accelerate germination compared to cooler climates.
Can I use this method for all types of seeds?
The paper towel method works excellently for most vegetable seeds (tomatoes, chilies, leafy greens), herbs (basil, coriander, mint), and many flower seeds. It’s ideal for small to medium-sized seeds. Very tiny seeds like lettuce or petunias can be challenging to handle, while very large seeds like beans or corn may be better direct-sown. Seeds requiring cold stratification (some temperate flowers) need different treatment.
What should I do if mold appears on the tissue paper?
Mold indicates excess moisture or poor air circulation. If caught early, open the container daily for 10-15 minutes to improve air exchange, reduce misting frequency, and ensure the tissue is damp but not soggy. Remove any moldy tissue carefully without disturbing seeds. For prevention, avoid overwatering and ensure containers are clean before use. If mold is extensive, transfer viable seeds to fresh, lightly dampened tissue in a clean container.
When is the best time to transplant seedlings to soil?
Transplant when seedlings reach 1-2 inches (2.5-5 cm) in height with visible true leaves developing. At this stage, they have sufficient root development to establish in soil but aren’t so large that roots are heavily tangled. Transplanting too early (just after sprouting) risks damaging fragile roots, while waiting too long causes root entanglement and transplant shock. Always wet the tissue before transplanting to minimize root damage.
Start Growing Today
The paper towel germination method transforms seed starting from guesswork into a reliable, repeatable process. With just a few household items and quality seeds, you can achieve professional-level germination rates and start your Malaysian garden with confidence—whether you’re growing vegetables for food security, herbs for your kitchen, or flowers to beautify your space.
Watch our detailed video tutorial on seed germination techniques, and explore Serbajadi’s complete range of gardening supplies to support your growing journey from seed to harvest.