
Make with Lena · Nature craft
Pressed Leaf Bookmarks
Turn pressed fallen leaves into beautiful bookmarks for your favourite stories.
- Ages 6–12
- Difficulty 1 of 3
- About 25 minutes
- Home or school, indoors
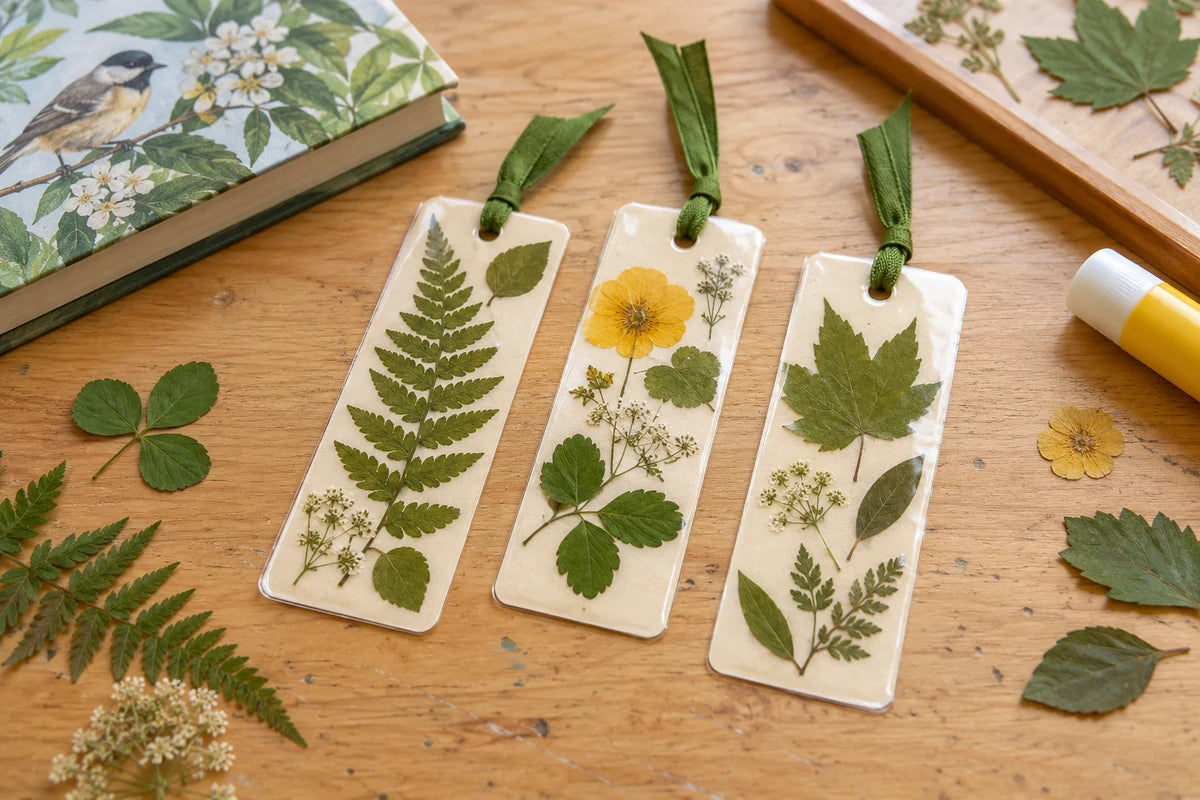
You will need
- Clean, dry pressed fallen leaves approved by a grown-up
- Reused card
- Child-safe glue stick
- Clear self-adhesive covering film
- Scissors and hole punch used with adult help
- Short lengths of ribbon
- Scrap paper and a heavy book if pressing fresh fallen leaves
- Make your bookmarks
- With a grown-up, choose a few clean fallen leaves from a safe place where collecting is allowed. Use only leaves the grown-up recognises and approves.
- If the leaves are not already pressed, place them between sheets of scrap paper inside a heavy book. Leave them until fully dry and flat, checking the paper for dampness. This can take several days.
- Ask a grown-up to cut reused card into bookmark-sized strips. Arrange the dry leaves on each strip before using a glue stick to hold them in place.
- With adult help, cover both sides with clear self-adhesive film and smooth it gently. A grown-up trims the edges, leaving a small sealed border. No hot laminator is needed.
- Ask a grown-up to punch a hole near the top. Thread a short ribbon through it and tie it securely.
- Add your own pattern on the back and use the bookmark in a favourite book. Wash your hands after handling the leaves.
- Allow about 25 minutes with already-pressed leaves; leaf pressing and glue drying take extra time.